
Let’s be real—city life doesn’t slow down for anyone. With endless deadlines, crowded commutes, and weekends that vanish into errands, it’s easy to forget there’s a whole world waiting beyond the concrete jungle. Now, what if you could trade skyscrapers for mountains, smog for fresh air, and stress for serenity—without breaking the bank? The Philippines is packed with natural wonders, and you don’t need a long vacation or a five-digit budget to experience some of them.
In this post, we’re heading to Capas, Tarlac—a mountain escape just a few hours from the capital. It’s home to Mt. Pinatubo, the “beautiful disaster” that rose from one of the most powerful volcanic eruptions in history. Today, it offers the perfect blend of adventure and peace for city-weary souls like us.
🏞️ Ready to trade your office view for a crater lake?
This guide will walk you through everything you need to know for a successful Mt. Pinatubo day tour—what to pack, what to expect along the trail, and how to prepare for the journey. Drawing from personal experience, it includes essential tips, key dos and don’ts, and practical advice I wish I had known beforehand. Also, whether you’re a first-time hiker or a seasoned traveler, this guide is designed to help you plan a safe, enjoyable, and memorable Mt. Pinatubo adventure.

📋 Planning the Trip
Facebook Groups for Joiners: A Smart, Hassle-Free Trip Option
If you’re short on time or just want a hassle-free adventure, booking a Mt. Pinatubo day tour through trusted Facebook travel groups is a smart move. Many organizers offer all-in packages that cover transportation, permits, and guide fees—making the whole experience smooth and stress-free.
In fact, it’s easy to compare different tour providers online. Some offer extra perks like free meals, while others keep it simple and budget-friendly. Choose what fits your style: splurge a little for convenience, or save more and bring your own food. Just make sure to read reviews and ask questions before locking in your spot.
Once you’ve chosen the right organizer, you’ll be asked to provide your details such as your full name, contact information, and preferred pick-up location. My organizer requested a ₱1,000 down payment, which I sent via GCash. The remaining balance was settled at the jump-off site.
Planning to bring your friends along? Don't hesitate to inquire about group discount—many organizers are more than willing to offer special rates for small groups.
Pros:
- Perfect for non-drivers—no need to worry about transportation
- No paperwork hassle—permits and fees are usually handled for you
- Just show up, pay, and enjoy the trip
Cons:
- Trips may be delayed if some participants arrive late
Know your Essentials
✅ Recommended gear and what to bring
Lightweight Backpack
It’s best to use a hiking bag for the trek. If you don’t have one, opt for a light but sturdy backpack instead. Avoid sling bags or shoulder bags—they can restrict your movement and may cause imbalance or discomfort during the hike.
The 4X4 truck used for the Mt. Pinatubo trip is compact and fits up to four passengers. Pack light for a comfortable ride—bring a compact bag with just the essentials, a change of clothes, and a pouch for wet items. Avoid bulky items like a large towels.
Comfortable Shoes for hiking or Sandals
It’s perfectly fine to use your running shoes if you don’t have hiking shoes like Salomon or Merrell. No need to spend thousands just for one hike. However, if you plan to make hiking a regular thing—monthly or even every couple of months—then investing in proper hiking shoes is totally worth it. You deserve the comfort and support!
Be prepared for mix of trekking and multiple river crossing along the Mt. Pinatubo trail. While your tour guide will be there to assist you, the terrain can be tricky—missteps and slips are possible, and you might end up getting your shoes wet.

If you're more comfortable in sandals, feel free to wear them—just make sure they're durable, secure, and designed for rough terrain. Avoid flimsy footwear that could easily come off or cause discomfort during the hike.
Eye protection and Masks
During the 1.5-hour 4×4 ride to the jump-off point, you’ll be surrounded by endless stretches of lahar and kicked-up dust. To make the experience more comfortable, it’s a good idea to wear close-fitting goggles or sunglasses to protect your eyes. Pair that with a mask or a bandana to minimize inhaling the tiny dust particles throughout the trip.
You may also support the locals by buying bandanas from them.

Other common essentials:
Bonus Tip: Show Up as the Best, Well-Rested You.
Since the pick-up time is usually around 2 AM, it’s tough to get a full night’s sleep before the hike. To feel your best, try to rest well the day before. I even took a half-day vacation from work to prepare myself—trust me, it made a huge difference in my energy and enjoyment!
The Journey to the Jump-Off Point
There are several pick-up locations across key areas in Metro Manila, making it easy to join no matter where you’re coming from. In my case, I was picked up at SM Mall of Asia. It’s best to arrive on or before the scheduled pick-up time—not only to ensure the group leaves on time but also to get first dibs on the best seat. Luckily for me, MOA was the first pick-up point, so we had the best seats available.
We rode a 16-seater white van headed to the jump-off point—standard transport for most joiner tours. It is not the most comfortable but it suits the price I paid.
We left our pick-up point at 2:15 AM—a little behind schedule, but still a decent start. Since it was an early morning trip, some joiners tried to catch a bit more sleep during the ride. It’s best to keep conversations low and use headphones if you want to listen to music, out of courtesy to others.
Arrive early if you want to snag a good seat! The earlier you get there, the better your chances of picking a comfortable spot for the ride. The total travel time to the jump-off site was around 3.5 hours, including a 20-minute stopover at a gas station along NLEX. Charge your phone before you go. Depending on your organizer, some jump-off sites offer phone charging services for a small fee. While you don’t need to worry about running out of mobile data—since there’s typically no cell reception along the trail—you’ll definitely want your phone ready to capture photos and videos.
Once you reach the jump-off point, you can finally settle down to enjoy your breakfast and sip on a warm cup of 3-in-1 coffee—depending on what’s included in your package. Restrooms are also available here for a small fee, and they’re definitely worth using before heading deeper into the trail where facilities are limited.
The Hike
I think the best way to really get the feel of the place is to discover it yourself when you arrive. But hey, to help you out, here are a few quick reminders to keep in mind before you go. Once you step out of the van, you’ll meet up with folks from different organizers. The 4×4 trucks pick everyone up from the same spot, so it’s super important to stick close to your group for quick reminders and a safety briefing before you meet your tour guide.
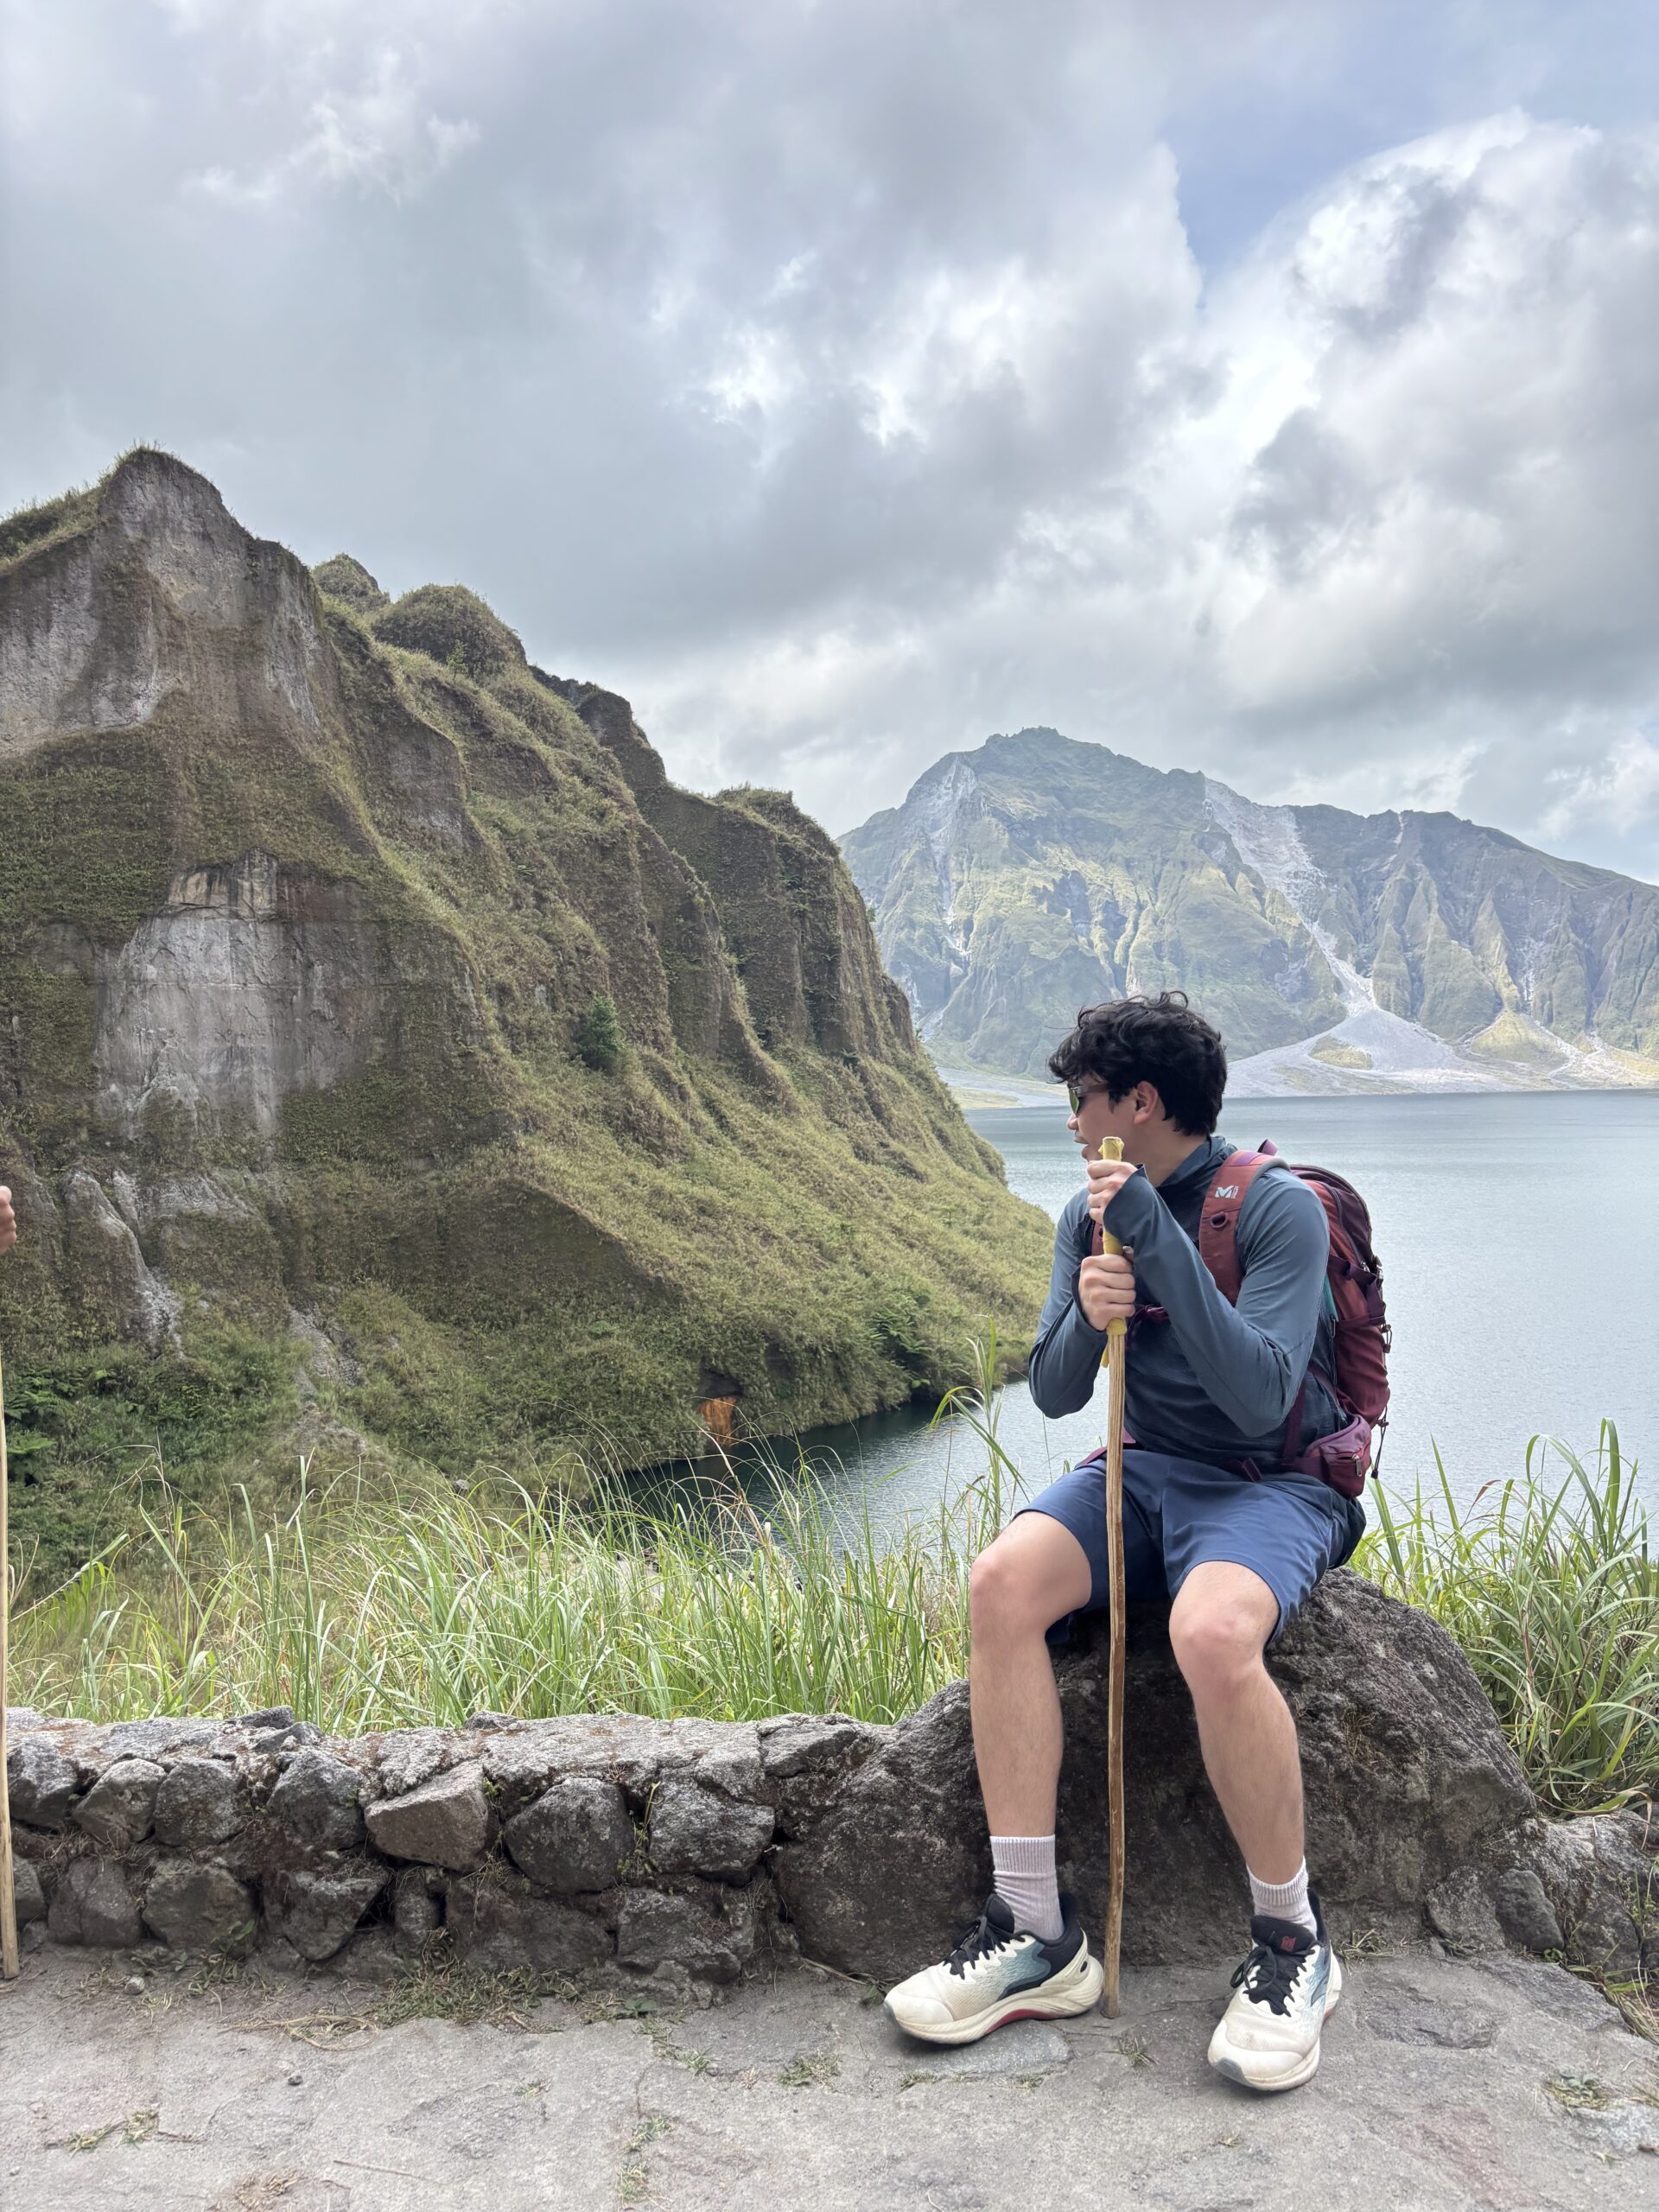
So, are you excited for your Mt. Pinatubo day tour? Here’s a little sneak peek of what’s waiting for you.

Hiking Mt. Pinatubo is relatively easy, making it a great choice for beginners or anyone who wants an adventure without the intense strain of a steep or technical trail. If you’re thinking about getting into outdoor activities like hiking, this is a fantastic place to start.
The trail offers just the right balance of challenge and enjoyment—with rewarding views that make every step worth it. So if you’ve been waiting for a sign to try hiking, this might be it.
See you on the trail—every step counts.